
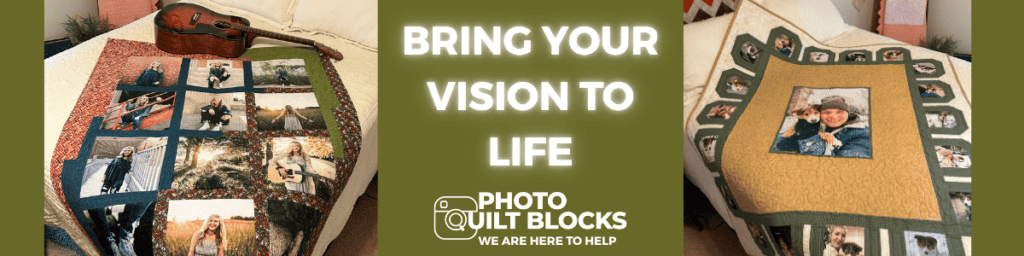
Creating a photo memory quilt is one of the most meaningful quilting projects you’ll ever make. Whether you’re celebrating a wedding, honoring a loved one, preserving family history, or remembering a special vacation, a photo quilt tells a story that lasts for generations.
The best part? You create the quilt—we make preparing the photo blocks easy.
We professionally print your photos on high-quality fabric, add the seam allowances, and deliver them ready to cut and sew into your quilt. At this time, we do not make finished quilts, allowing you the creative freedom to choose your favorite pattern, fabrics, and quilting style.
Step 1: Choose the Photos for Your Quilt
Start by gathering the photos you’d like to include. Some of the most popular photo memory quilt themes include:
- Wedding quilts
- Memorial quilts
- Senior graduation quilts
- Baby quilts
- Family heritage quilts
- Vacation memories
- Military service quilts
- Hobby or sports quilts
- Pet memorial quilts
Take time to select photos that tell the story you want your quilt to share. Ask friends and family if they have any photos they would like to share. Stalk Facebook pages for photos that would love to star in your next creation.
If your photos are not digital you can take a photo of them or scan them in. You will scan them in at 300 dpi. For more information on photo scanning, read this article.
Step 2: Choose Your Quilt Pattern
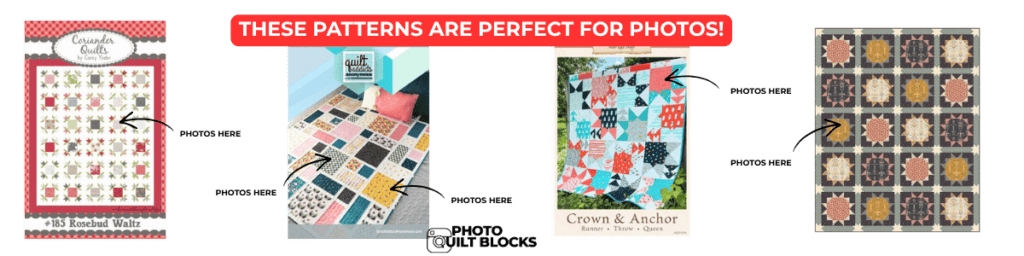
Now it’s time for the fun part—deciding how your quilt will look!
TAKE A LOOK AT OUR CURATED COLLECTION OF PATTERNS HERE!
You have several options:
- Design your own quilt pattern.
- Choose from our collection of photo-friendly quilt patterns, specially designed with large open spaces so your photo blocks aren’t interrupted by piecing seams.
- Purchase a pattern from your local quilt shop.
- Browse Pinterest for inspiration.
- Search Etsy for quilt patterns created specifically for photo quilts.
When selecting a pattern, look for designs that showcase your photos rather than competing with them.
Step 3: Order Your Photo Quilt Blocks
Once you’ve chosen your pattern, determine:
- The finished size of each photo block
- How many photo blocks you’ll need
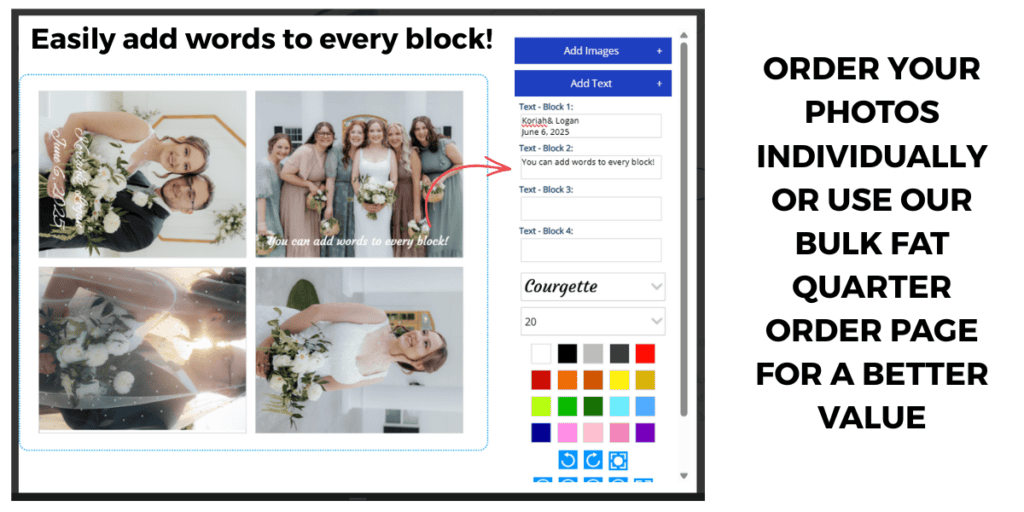
Our website offers two convenient ordering options:
Individual Photo Blocks
Perfect for larger photos (over 8″).
Fat Quarter Printing
Ideal when your quilt uses many smaller blocks (8″ or smaller). Ordering by the fat quarter is often the most economical option.
Good to know: The sizes listed on our website are finished block sizes. We automatically add the seam allowances, so your blocks arrive ready to cut and sew.
Order Fat Quarters full of photos here!
Here are some articles that will help!
Printing Photos on Fabric – Photo Quilt Blocks Does it For You!
Photo Quilt Blocks FAQ: Everything You Need to Know Before Ordering
Paper Photos to Digital Photos – Photo Quilt Blocks
Printing Digital Photos on Fabric – Min PPI & Pixel Size
Printing Photos on Fabric – Fat Quarter Full of Photos
Step 4: Choose Coordinating Quilt Fabrics
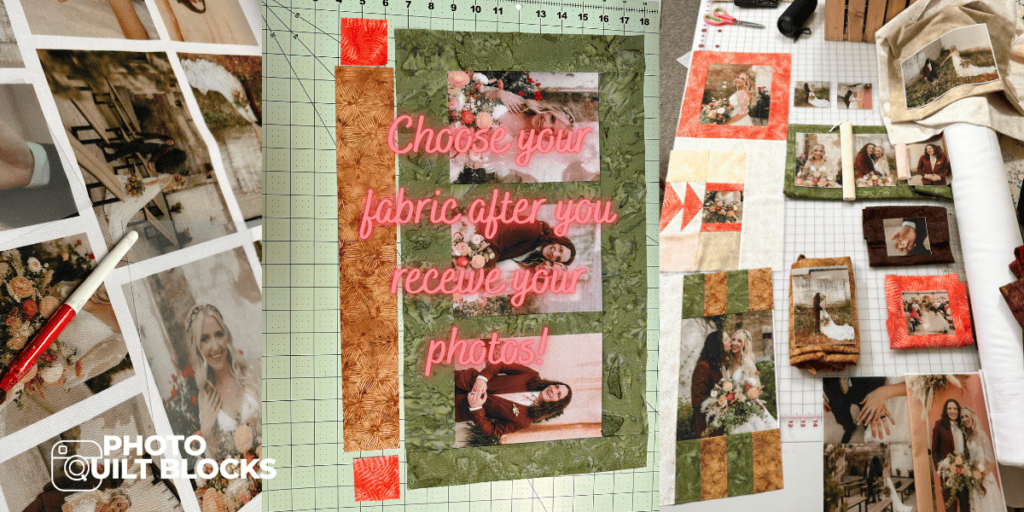
Once your printed photo blocks arrive, take them with you to your local quilt shop to select coordinating fabrics.
This is one of my biggest recommendations.
Computer monitors display colors differently, so the printed fabric often looks slightly different than what you see on your screen. By waiting until your photo blocks arrive, you’ll be able to perfectly match your fabrics to the printed colors.
The result is a much more polished, professional-looking quilt.
Don’t Forget Your Quilt Label!
Every memory quilt deserves a beautiful personalized quilt label.
Our photo quilt labels let you preserve the story behind your quilt so future generations know exactly what it represents. We’re continually adding new personalized label designs, so be sure to browse our collection before placing your order.
What Should a Quilt Label Include?
A good quilt label should include:
- Name of the quilt
- Recipient’s name
- Person or event being honored
- Important dates
- Names of family members (optional)
- Who made the quilt
- Date the quilt was completed
- A meaningful quote, Bible verse, or short message
- A favorite photo (optional)
Step 5: Finish Your Quilt
After you’ve pieced the quilt top together, it’s time to complete your quilt.
Add your batting and backing, then quilt it using your preferred quilting method.
You can:
- Quilt it yourself on your home sewing machine
- Hire a local longarm quilter to quilt and bind it for you
Either option will give your quilt the finished look it deserves.
Step 6: Enjoy and Share Your Masterpiece
Congratulations—you’ve created a one-of-a-kind photo memory quilt that will be treasured for years to come.
Before giving it away, be sure to:
- Take photos of the finished quilt.
- Photograph it with the recipient.
- Share it on Facebook or Instagram.
- Tag us so we can celebrate your project!
- Email us pictures—we absolutely love seeing the beautiful quilts our customers create.
Every quilt tells a story, and we’d be honored to share yours.
Recent Posts
25th Wedding Anniversary Photo Quilt - Customer Quilt Spotlight
Some quilts tell a story. This one tells an entire adventure. ❤️ When Kathy contacted me about creating Photo Quilt Blocks for a very special quilt, we knew the photos had to be just...
My Daughter’s Senior Photo Quilt | Cascading Border Quilt Pattern
Meet the Picture Quilt - Cascading Borders Photo Quilt Pattern Some quilts are made to keep you warm. Some are made to decorate a room. And then there are the quilts that hold a...